

SD Card Formatting
This guide will help you properly format your SD card to the FAT32 file system using built-in Windows tools. This is necessary for correctly writing the firmware image.
Before you start
- Connect the SD card to your computer and ensure it is detected by the system.
- Back up all important data — formatting will erase all contents.
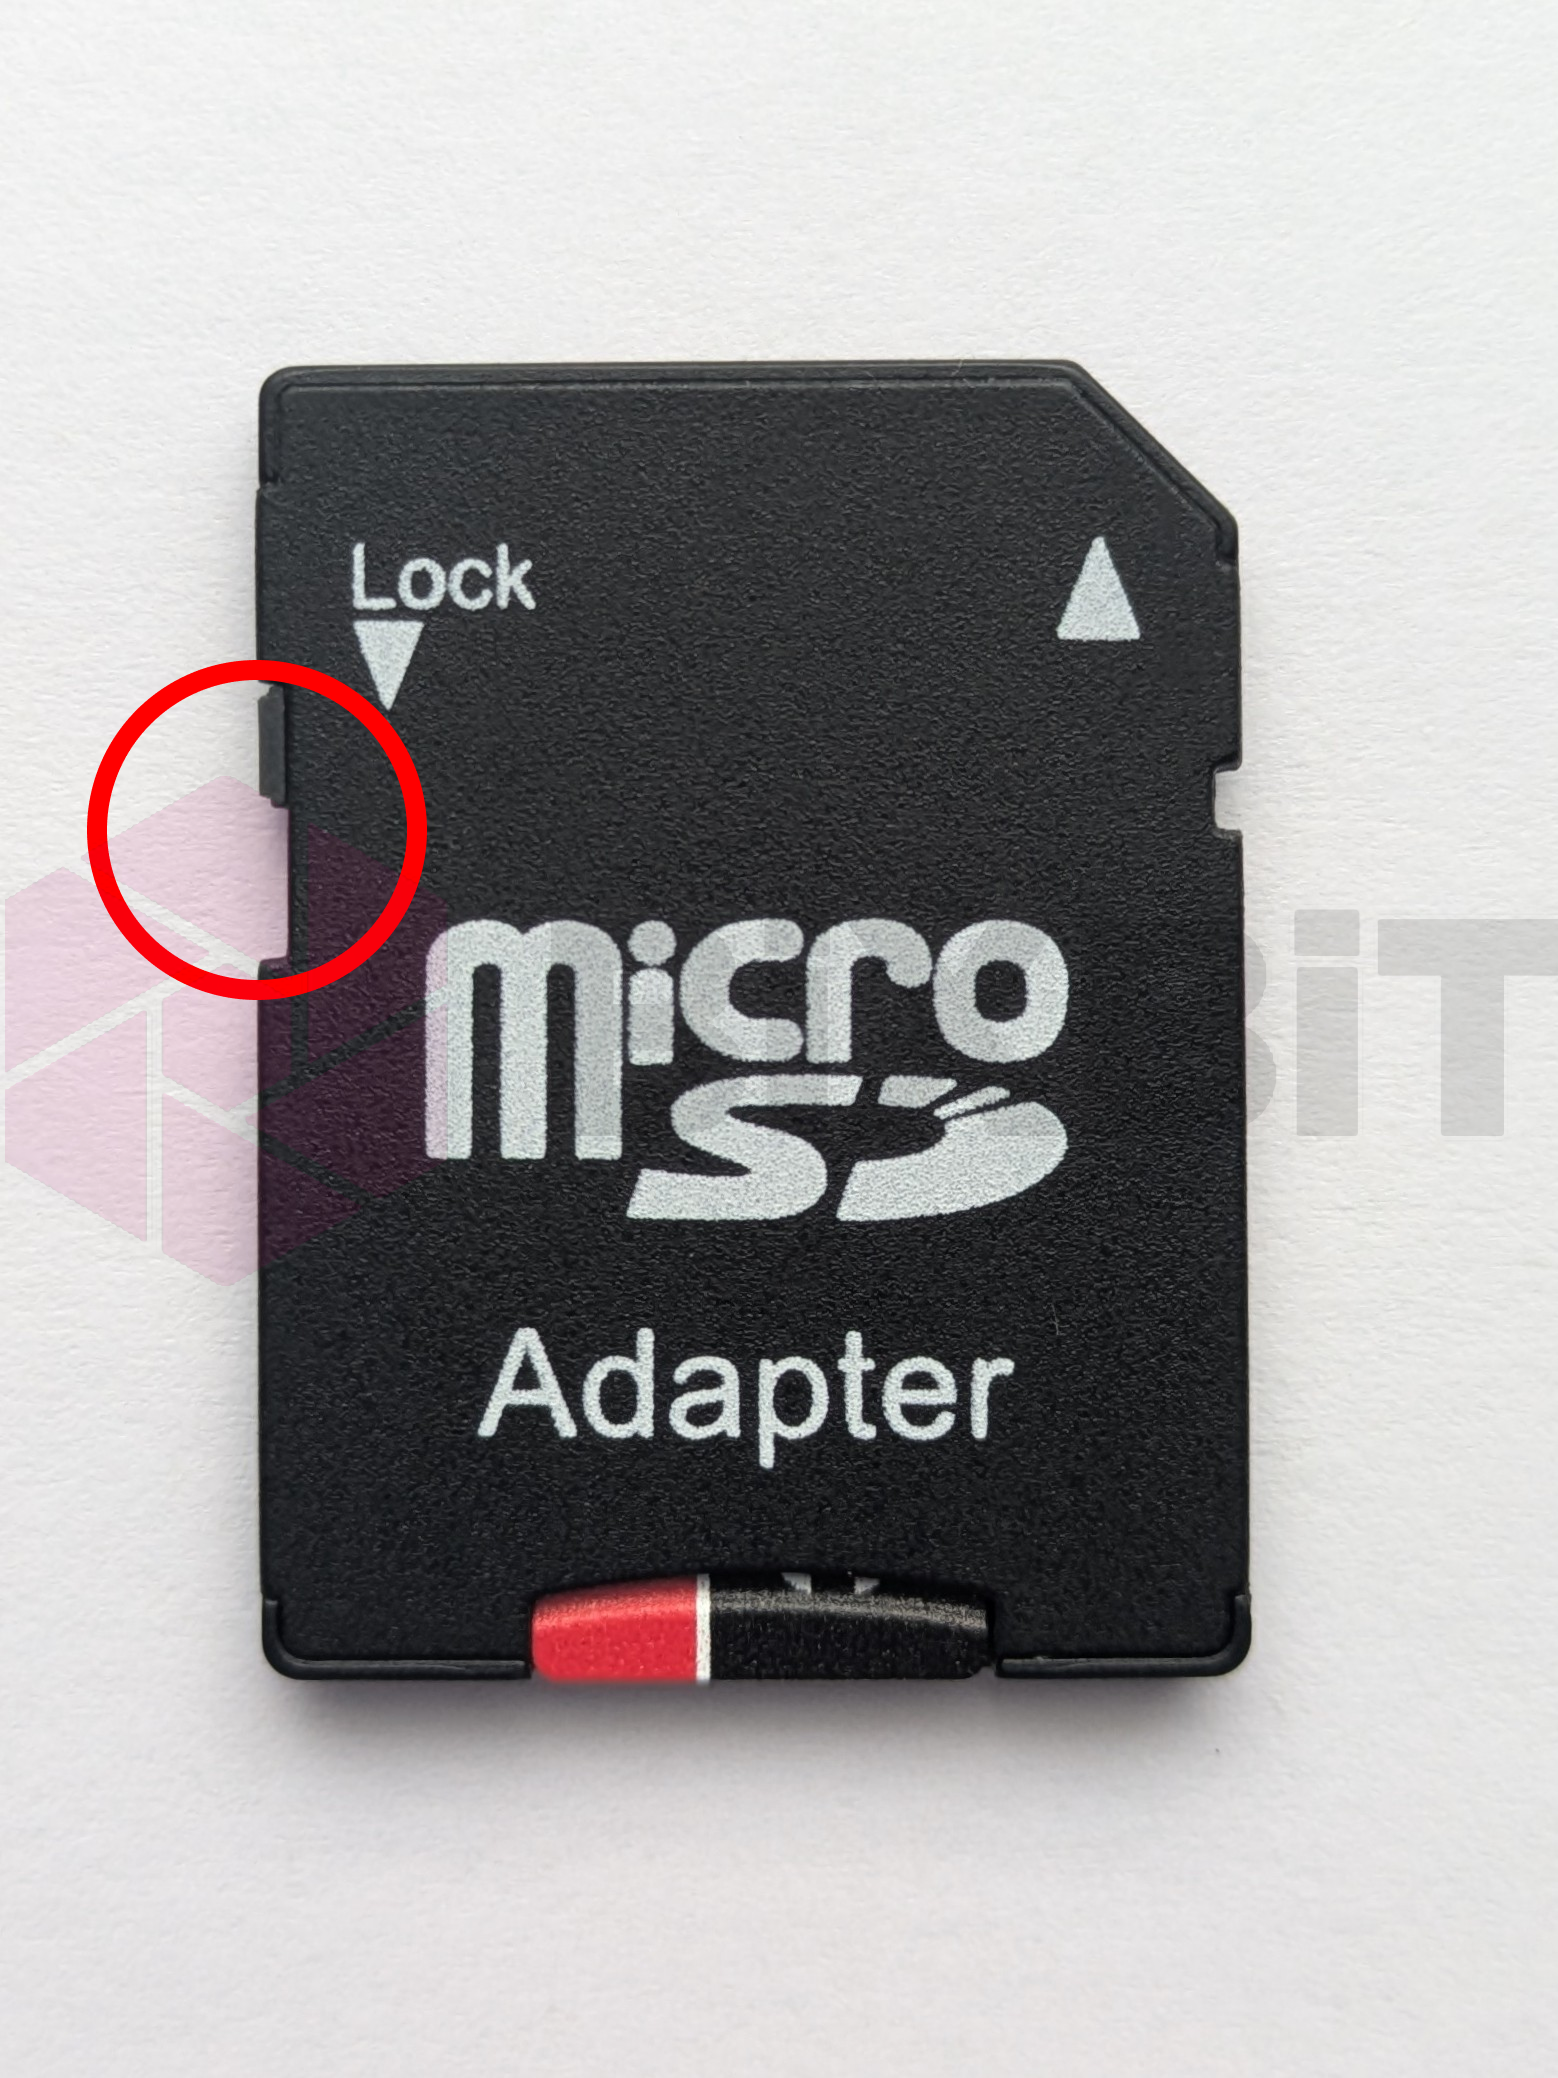
- If you are using a microSD adapter, make sure the write-protection switch is unlocked.
Step 1: Opening "Disk Management"
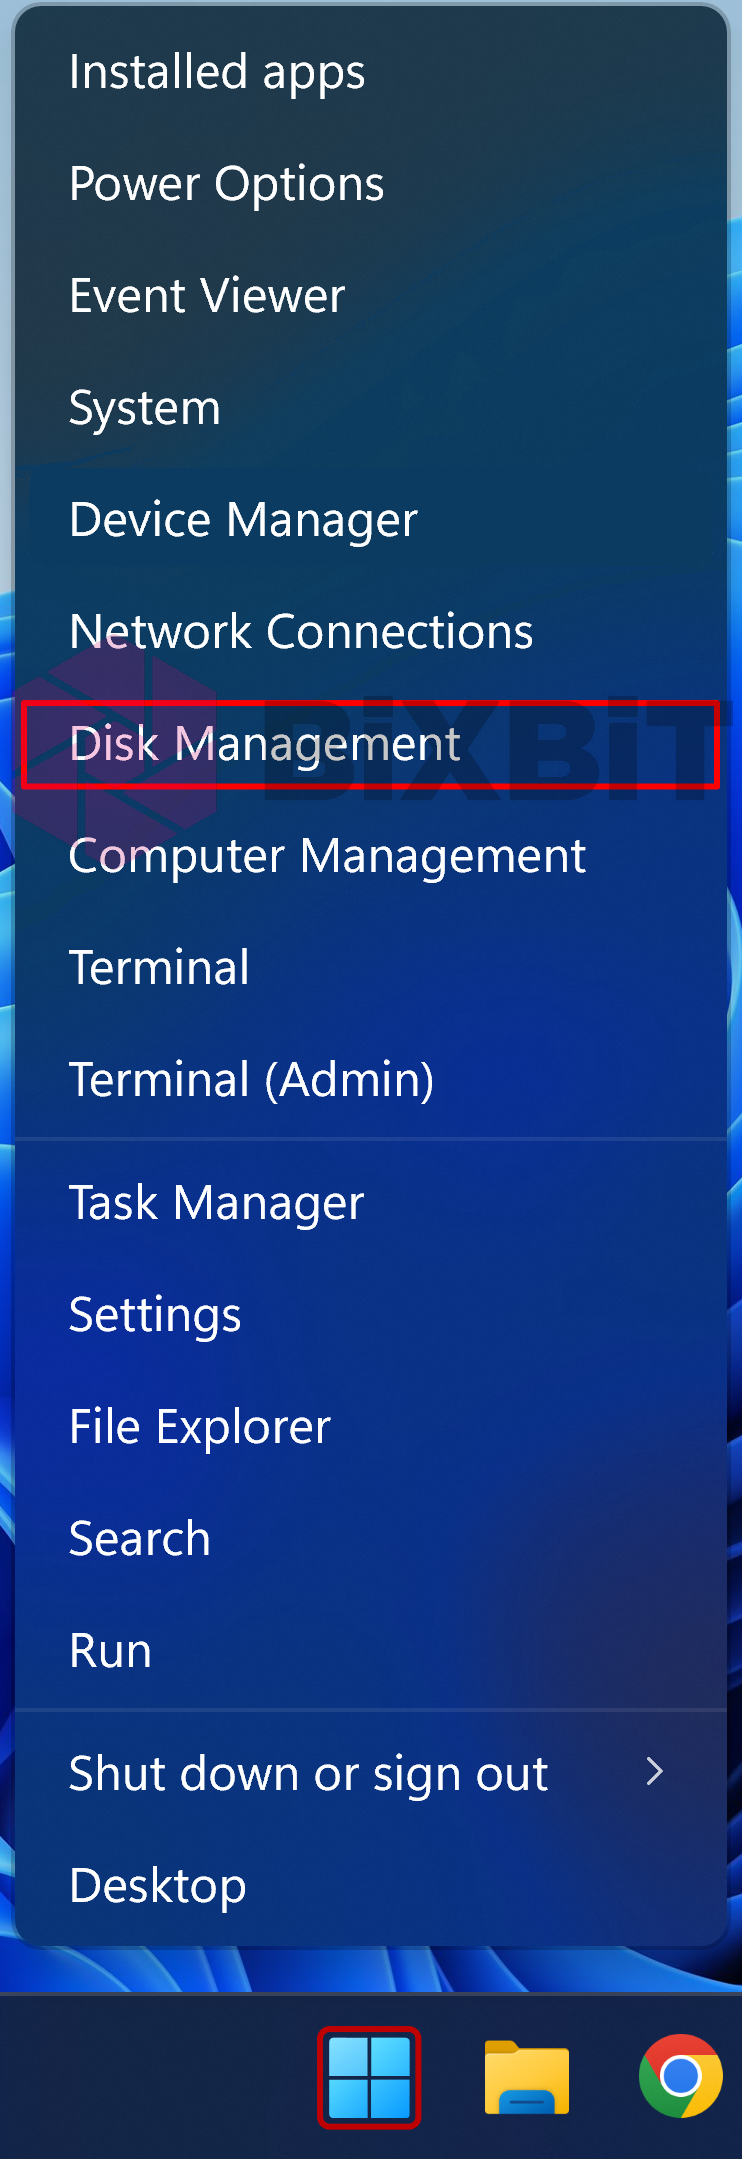
- Right-click on the Start button (Windows logo).
- Select "Disk Management".
Step 2: Deleting Existing Partitions/Volumes
Locate your SD card in the list of disks (typically labeled as "Removable").
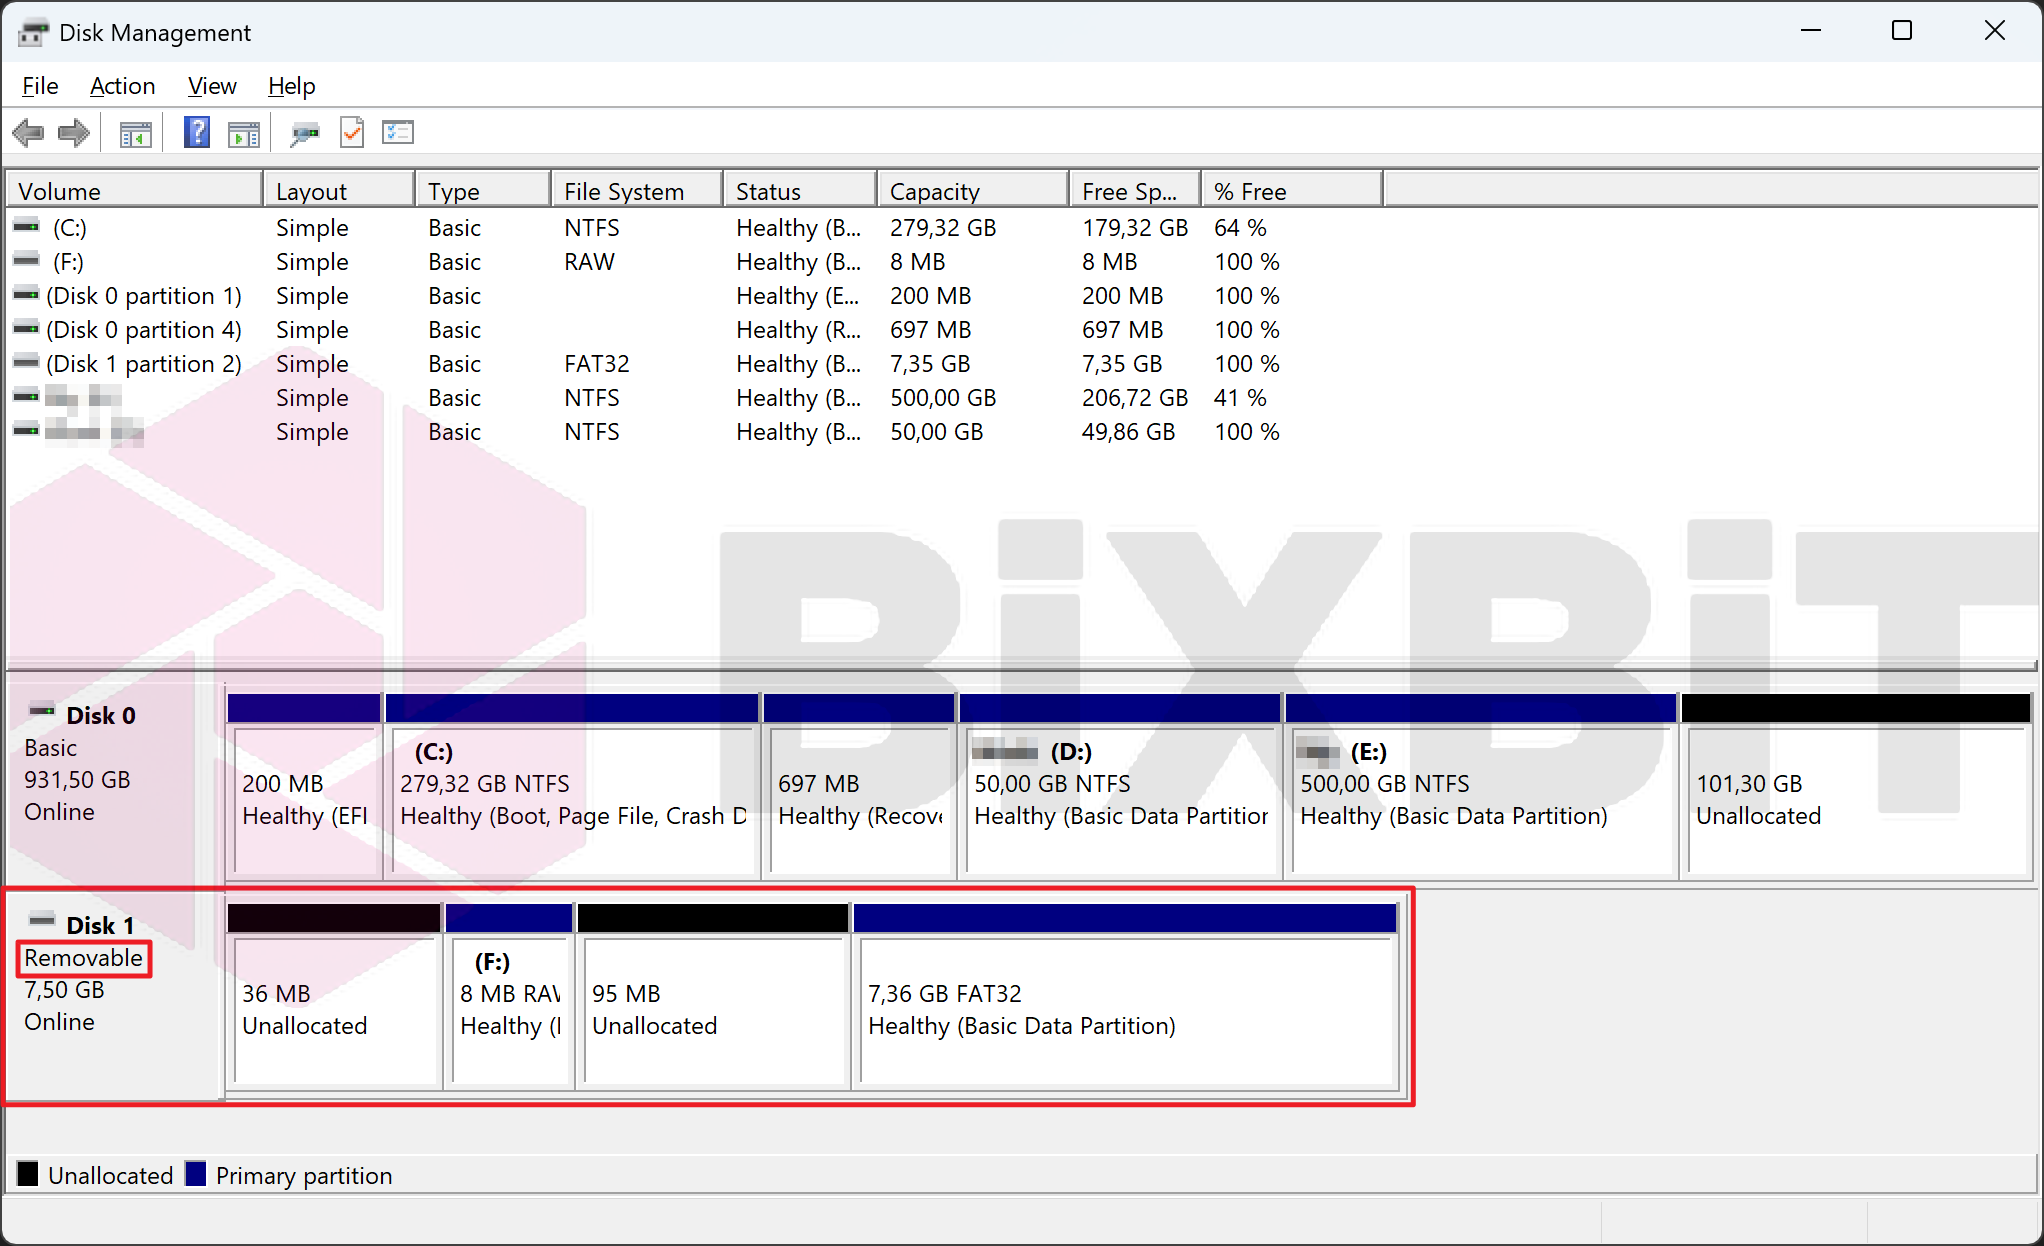
If the card has any existing partitions:
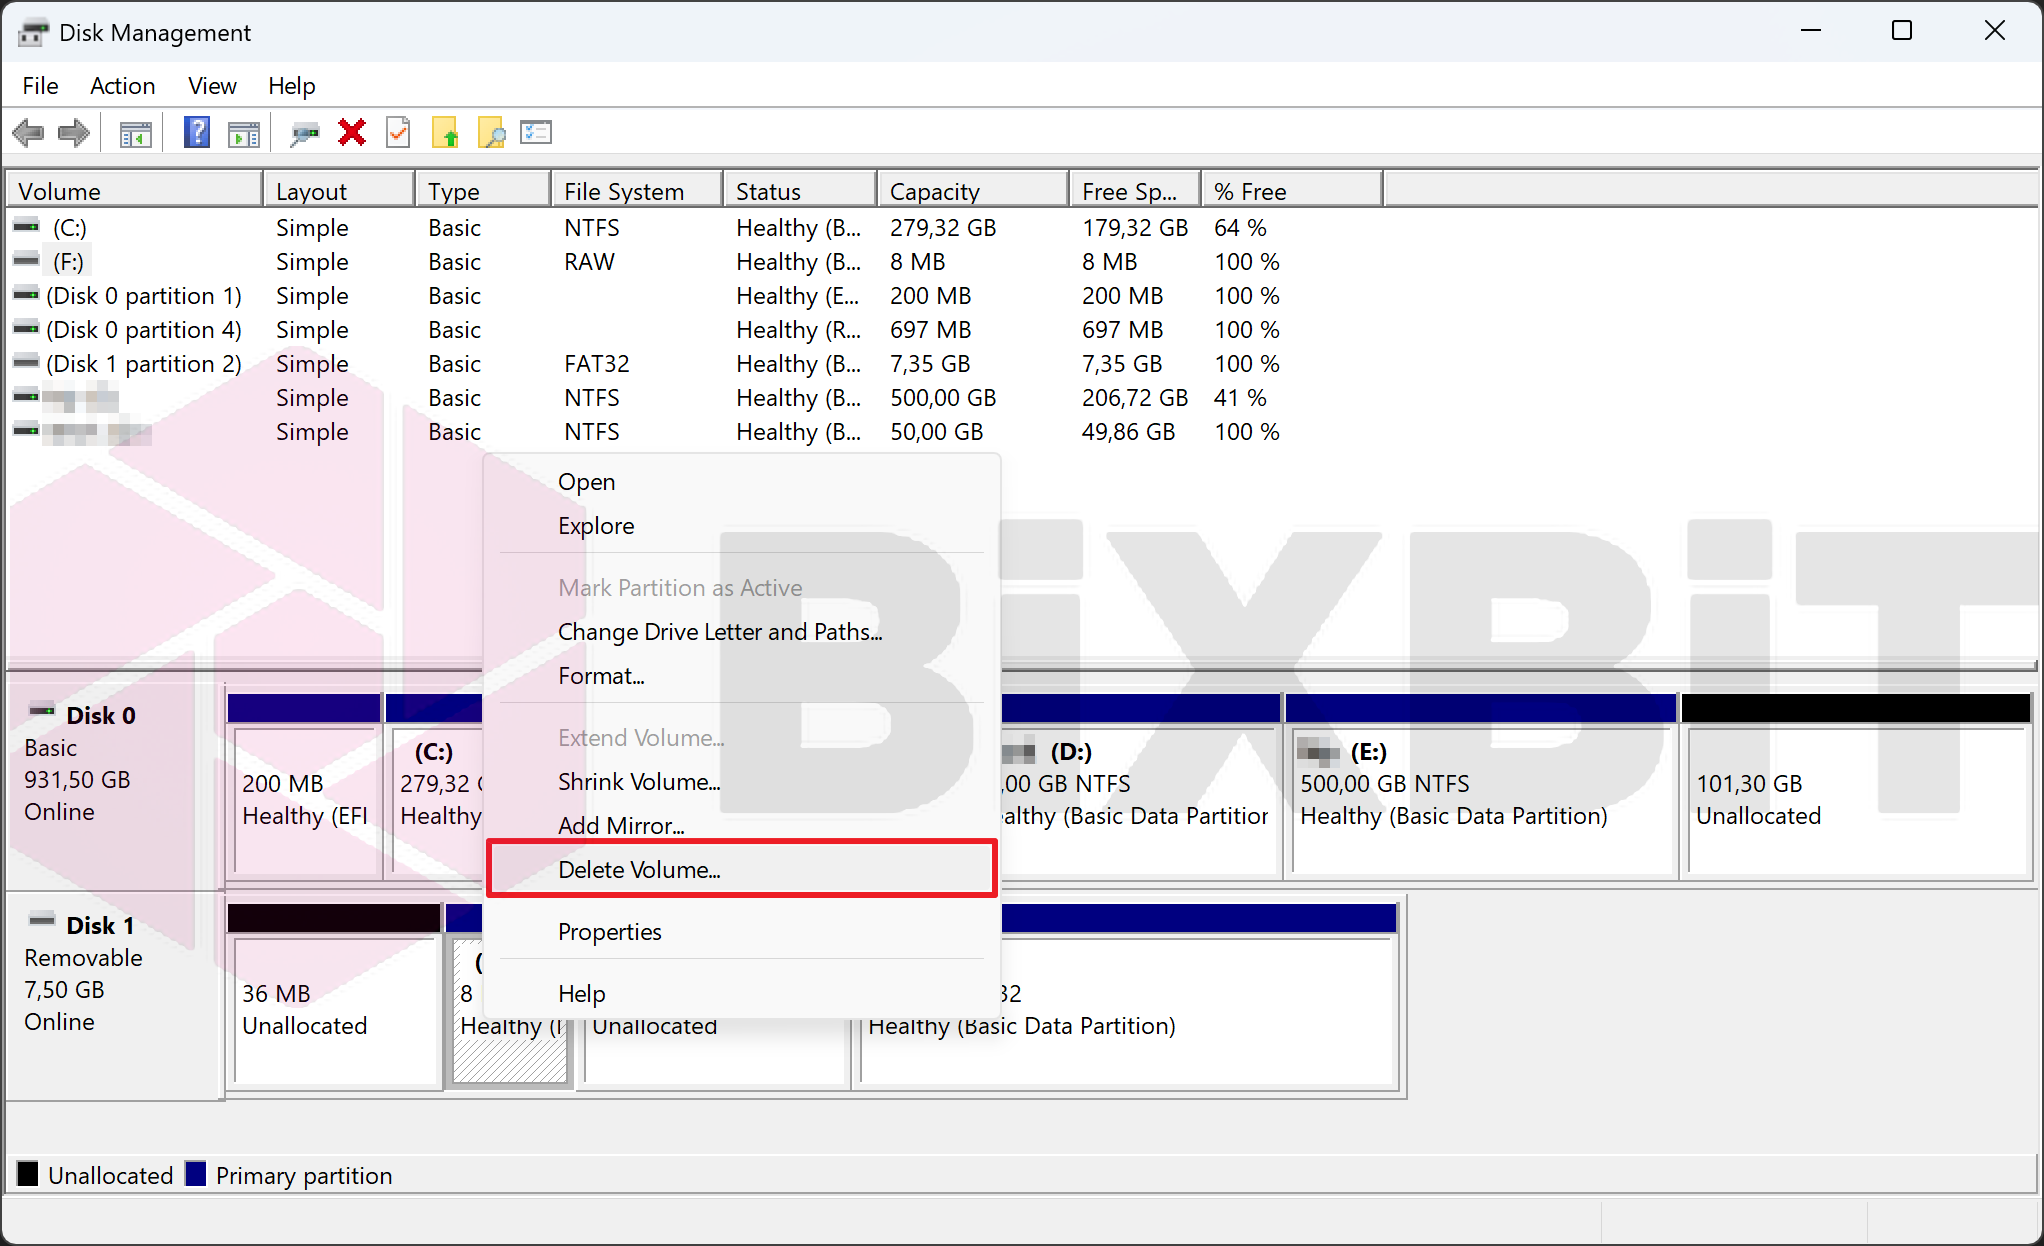
- Right-click on each allocated partition/volume.
- Select "Delete Volume...".
- Confirm the volume deletion.
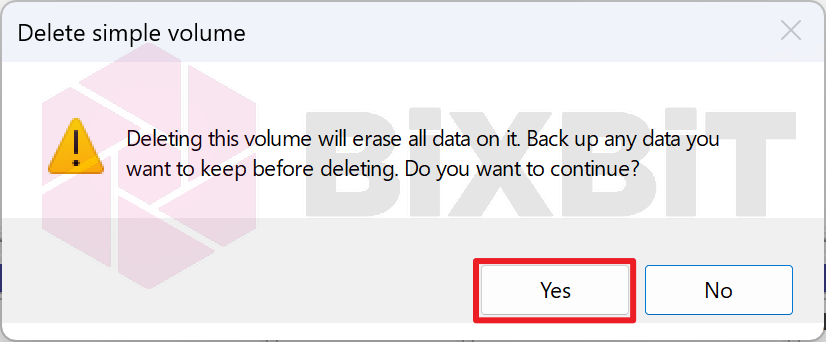
- If the SD card has multiple volumes, repeat for all volumes until the entire card space shows the status "Unallocated".
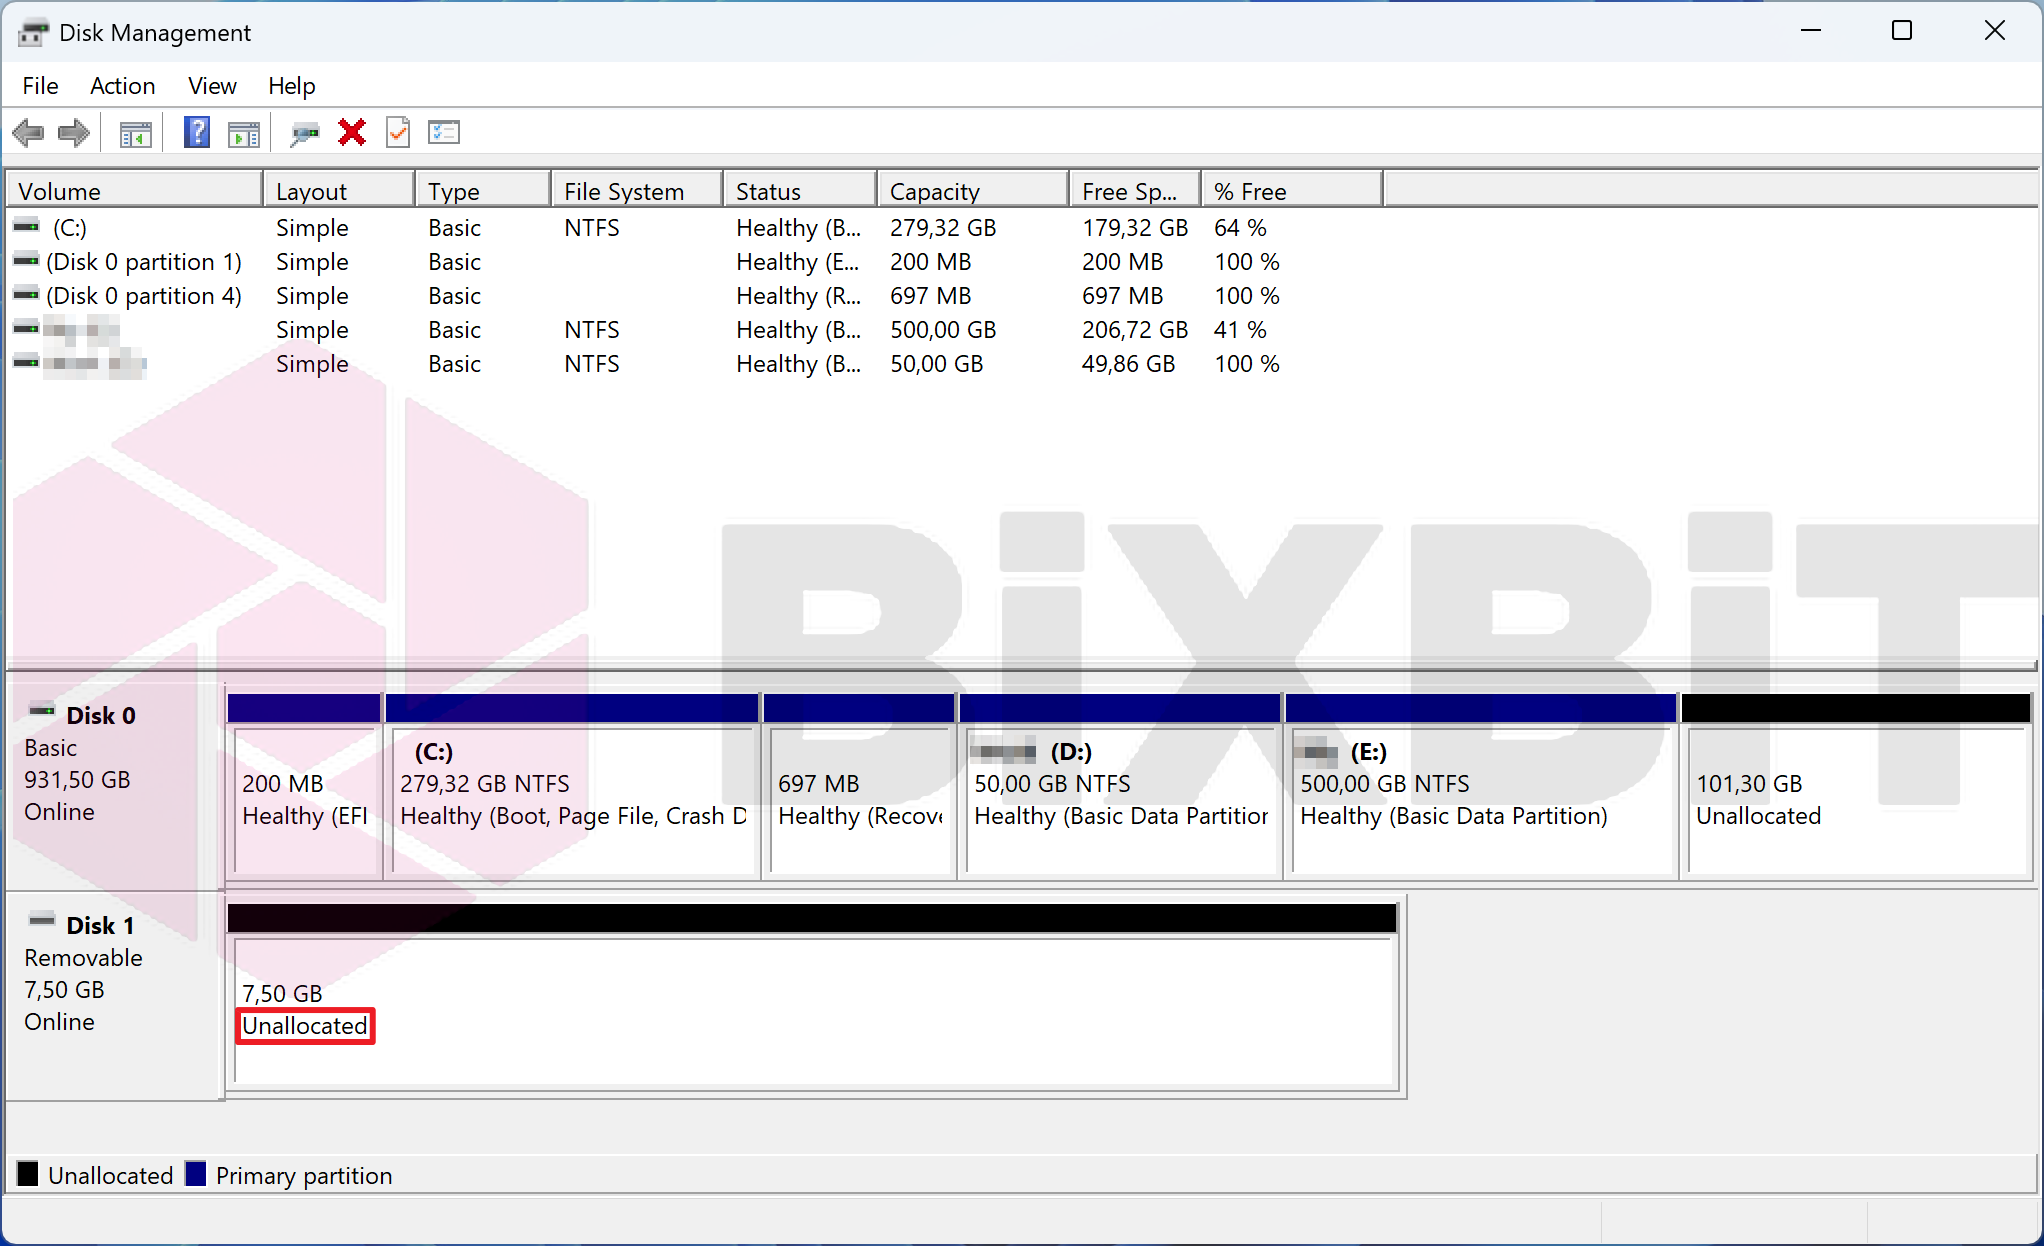
Step 3: Creating a New Partition/Volume
- Right-click on the unallocated space of the SD card.
- Select "New Simple Volume...".
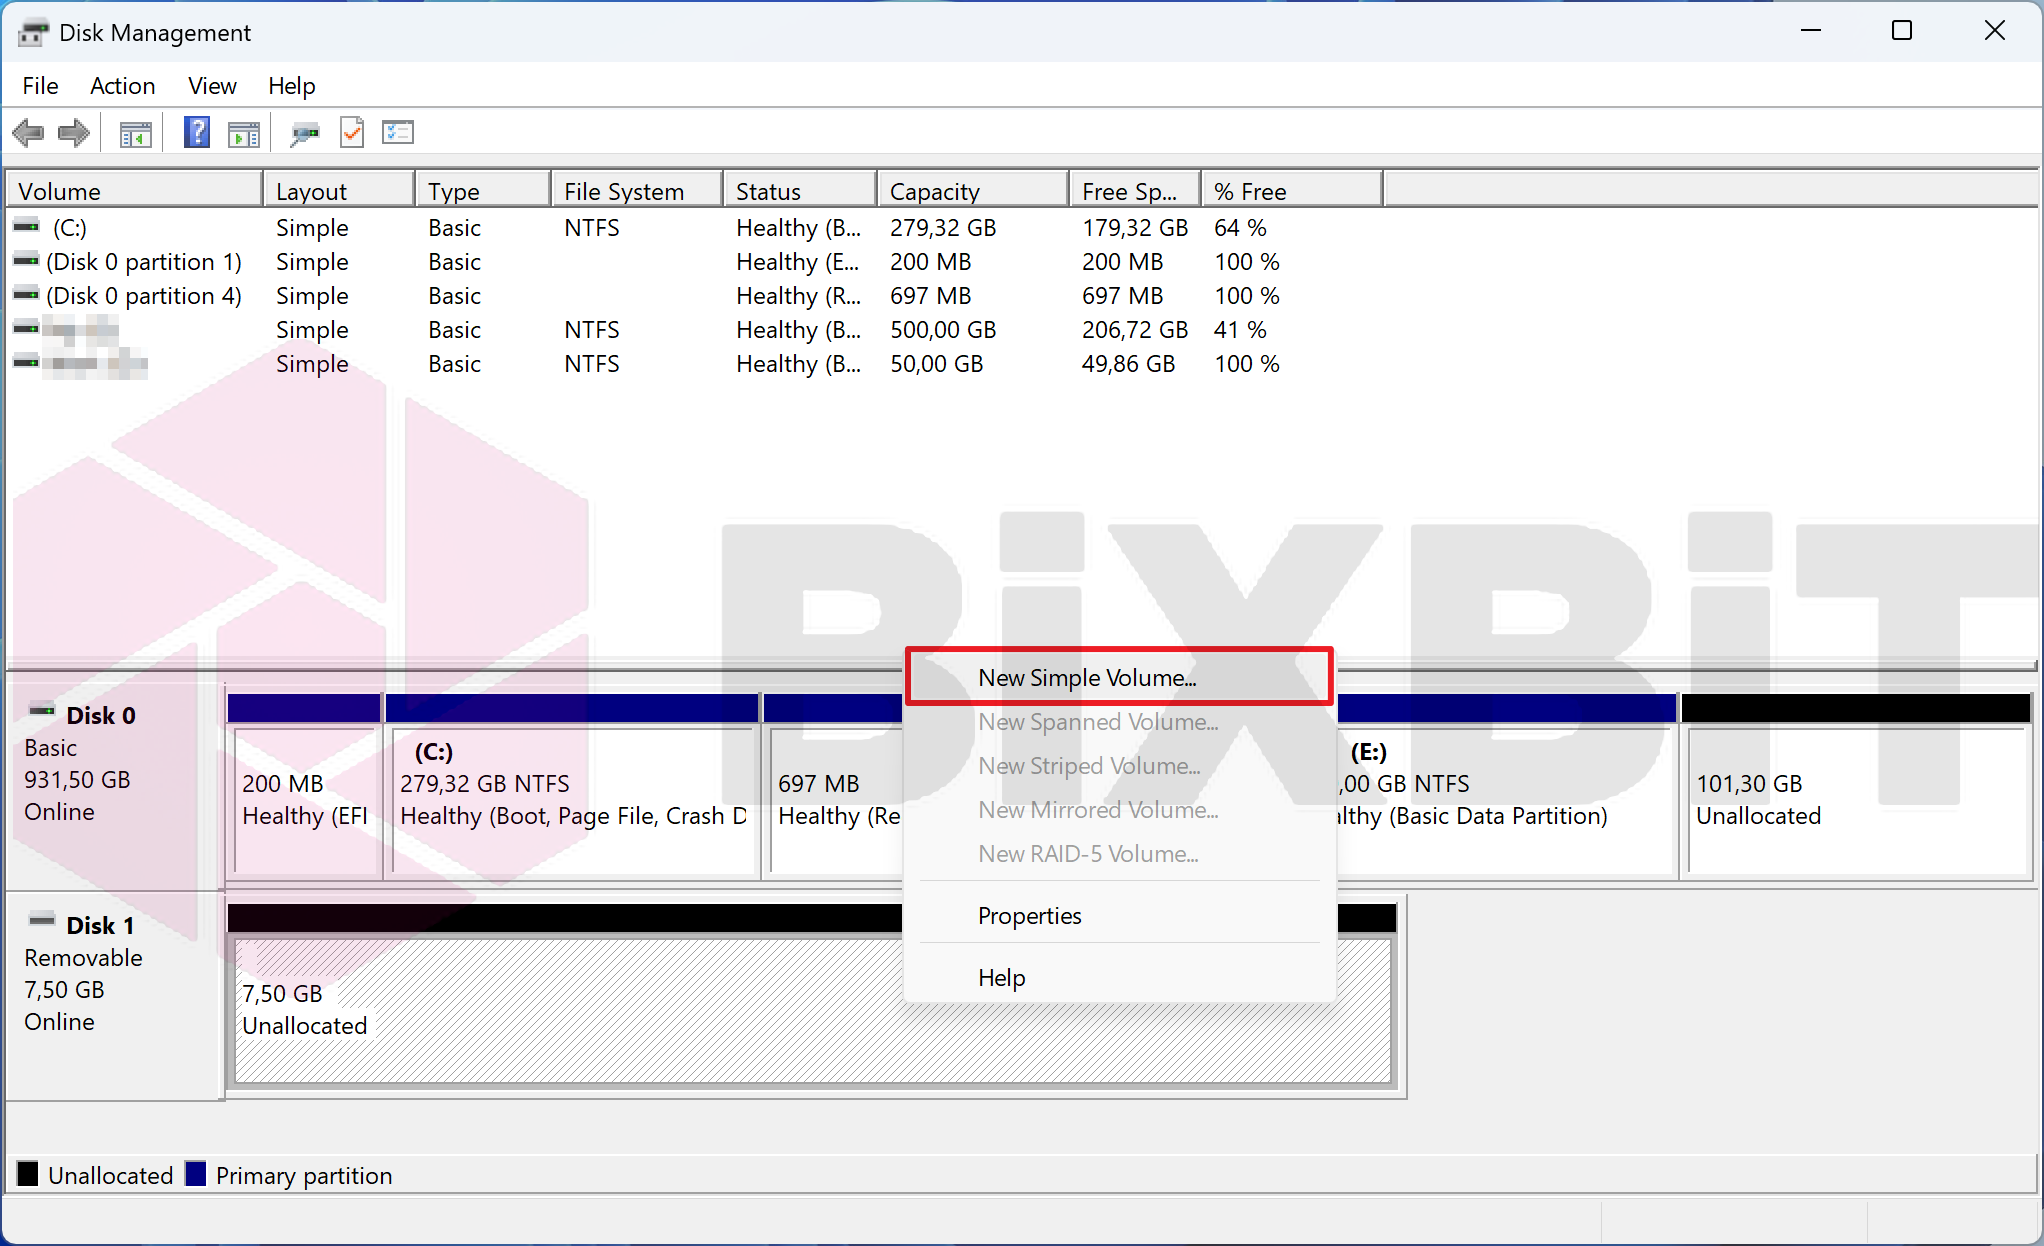
- In the volume wizard that opens:
- Click "Next >" on each step.
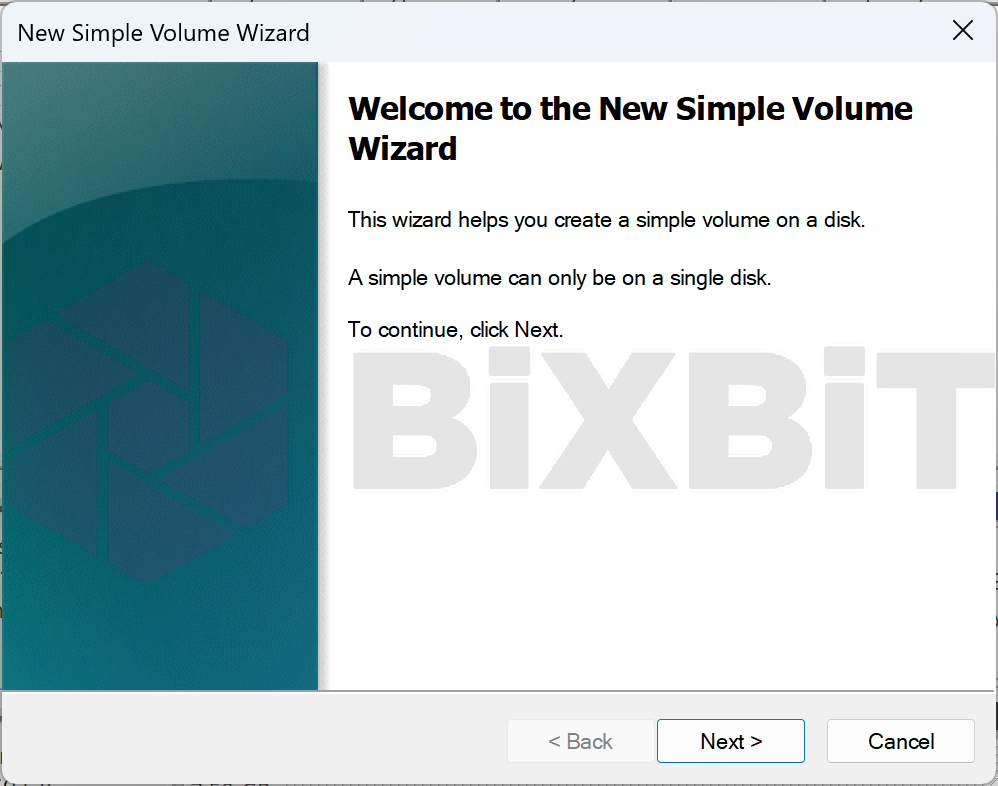
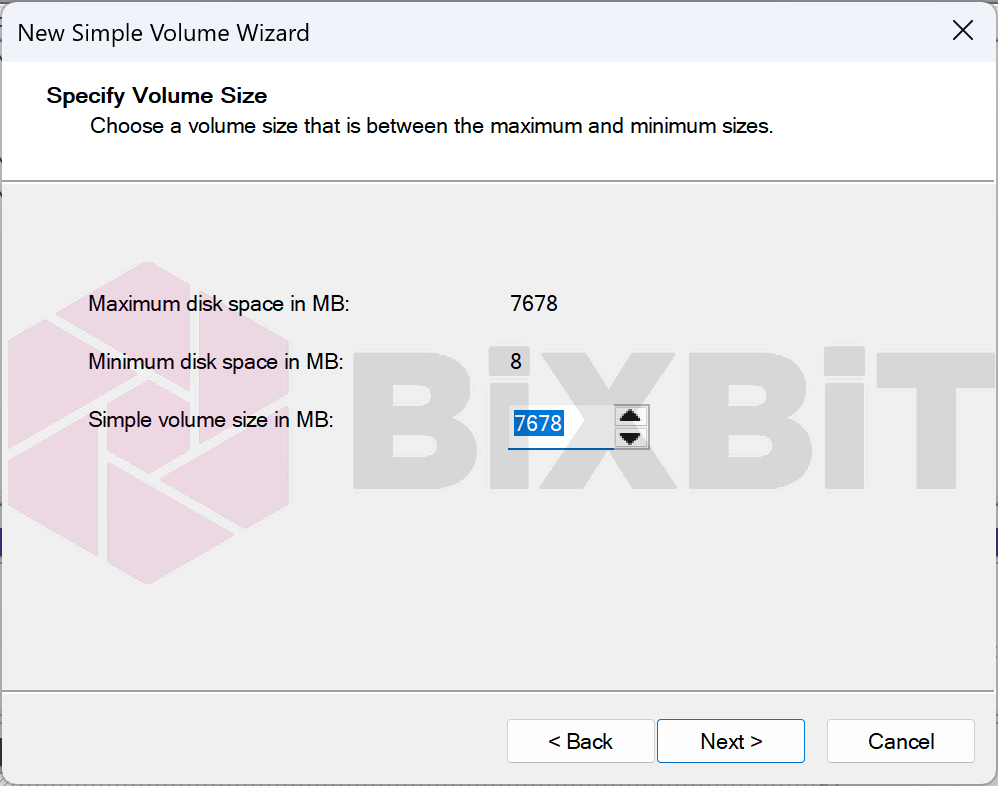
- Specify the maximum volume size.
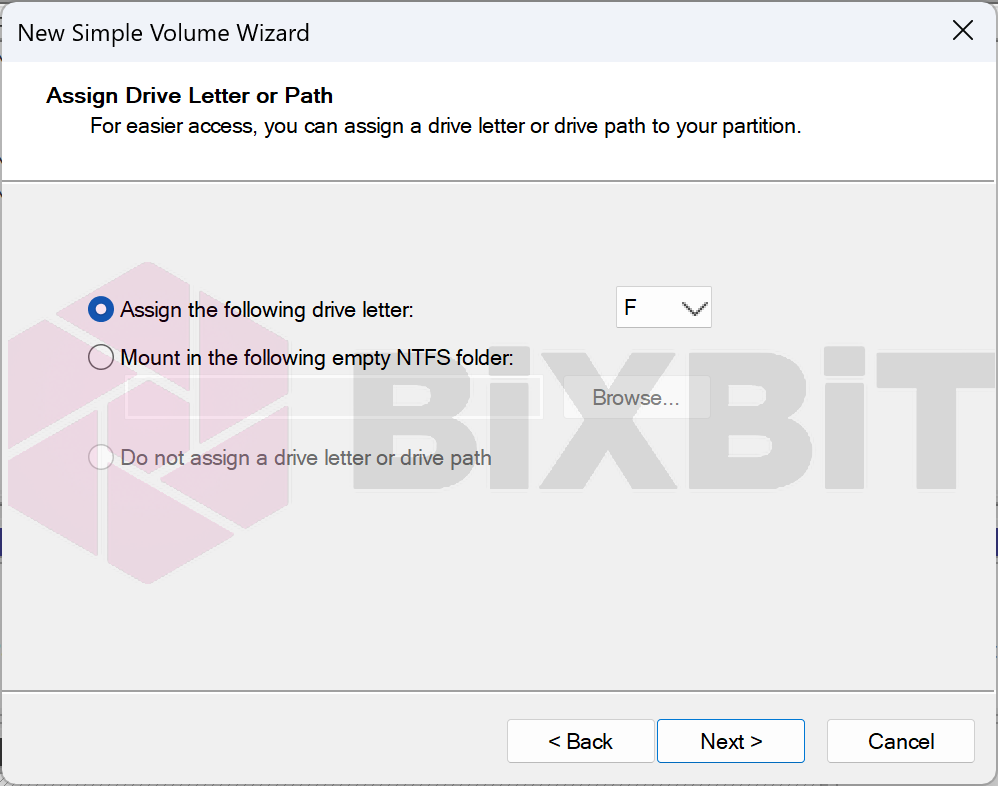
- Assign a drive letter (e.g., F).
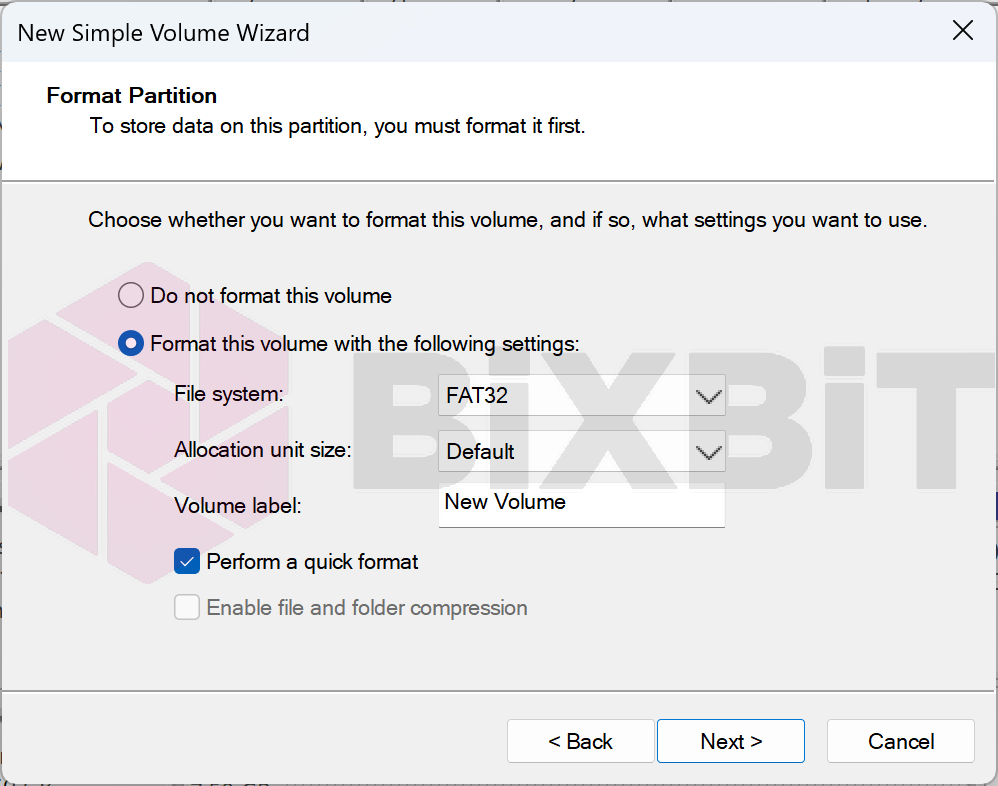
- Select the FAT32 file system and enable "Perform a quick format".
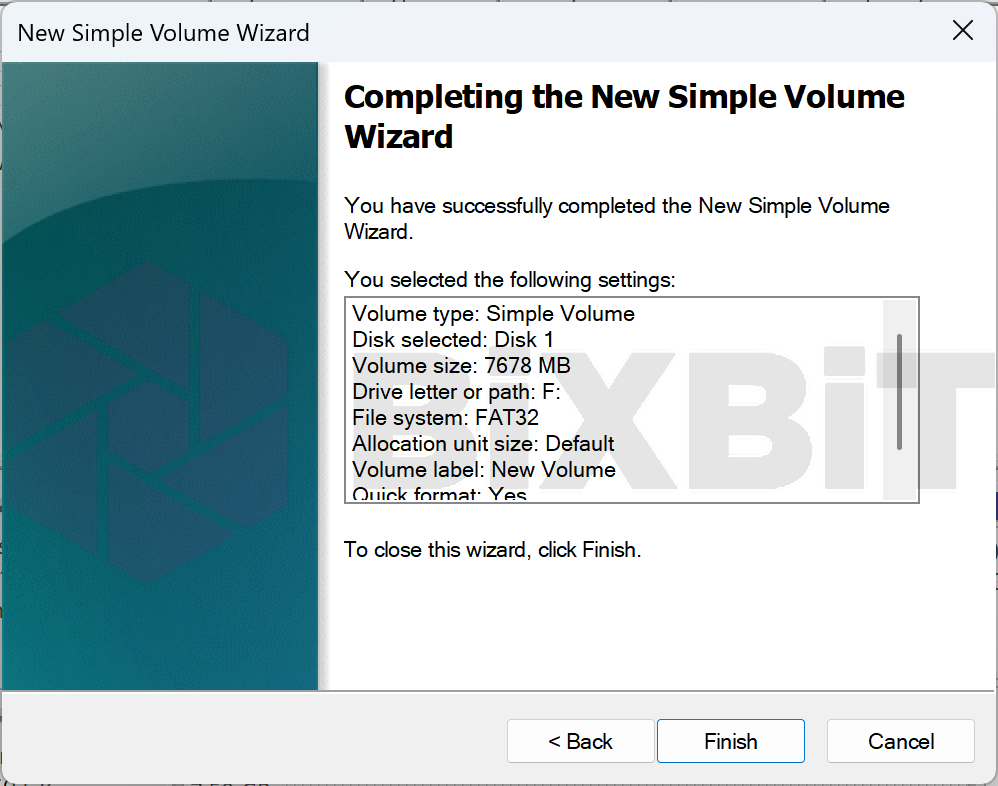
- Click "Finish" to complete.
- Click "Next >" on each step.
Result
After formatting is complete, the SD card should appear as a single partition with the FAT32 file system and have the status "Healthy (Basic Data Partition)".
The disk should look like this:
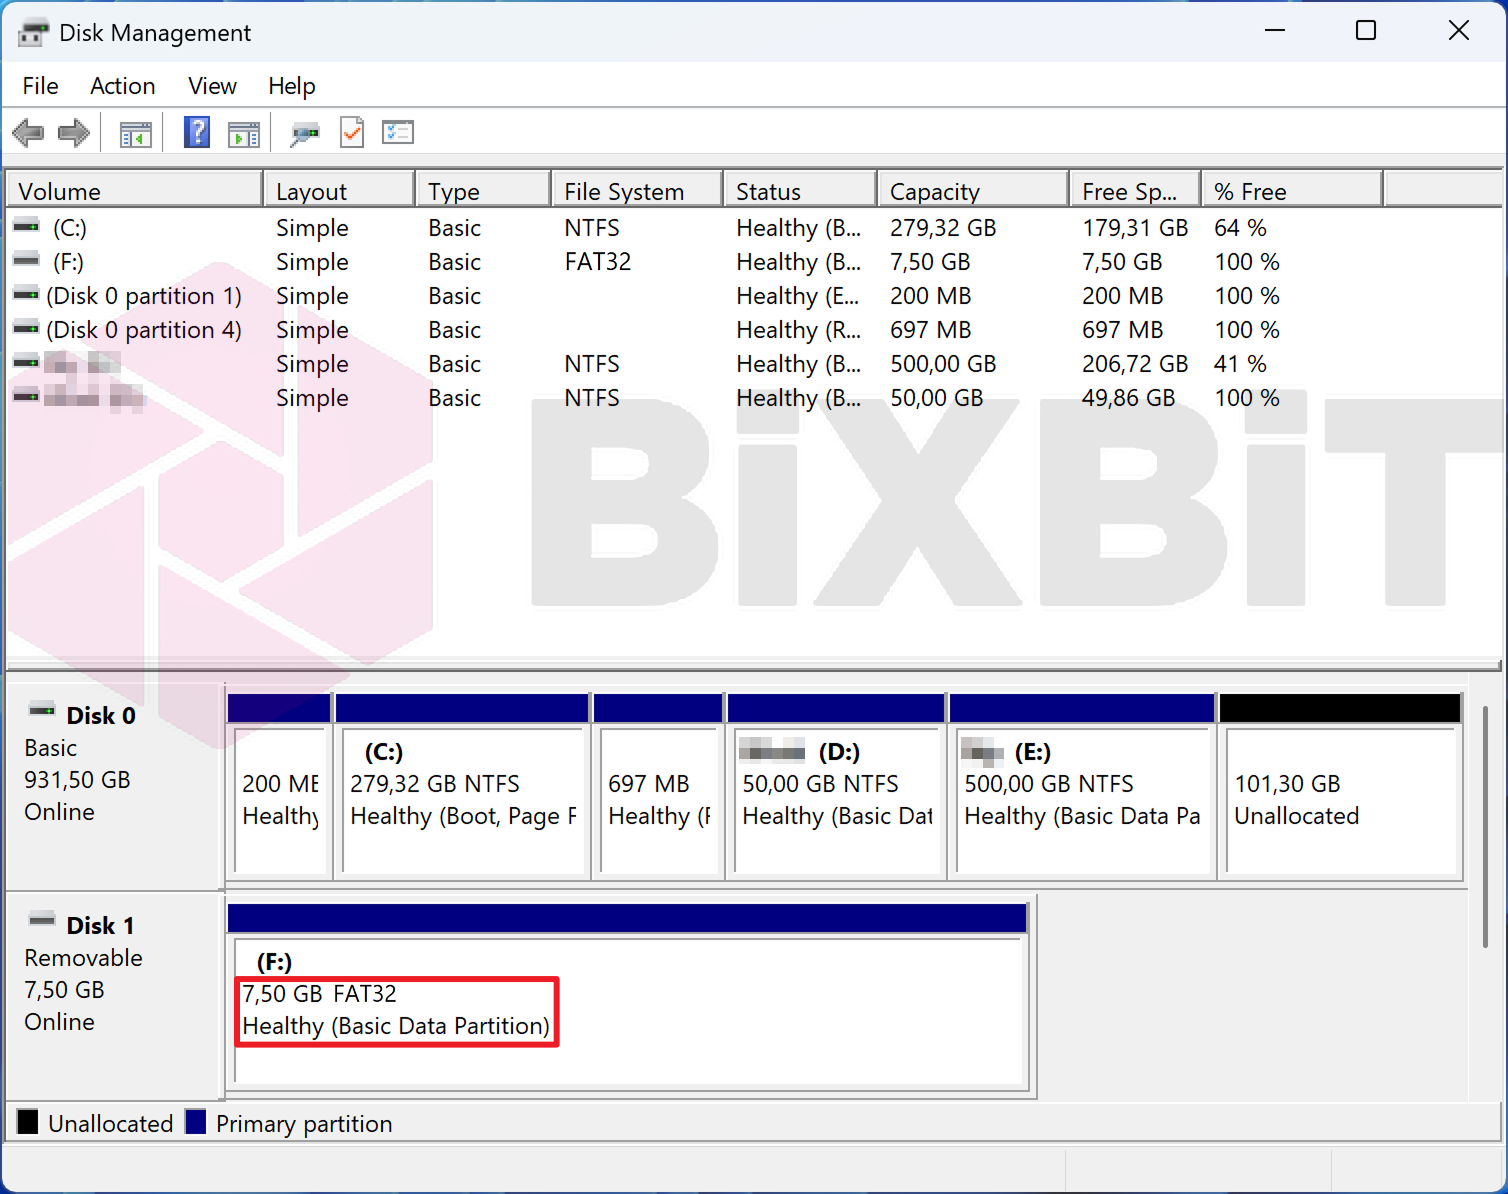
SD card formatting is complete.